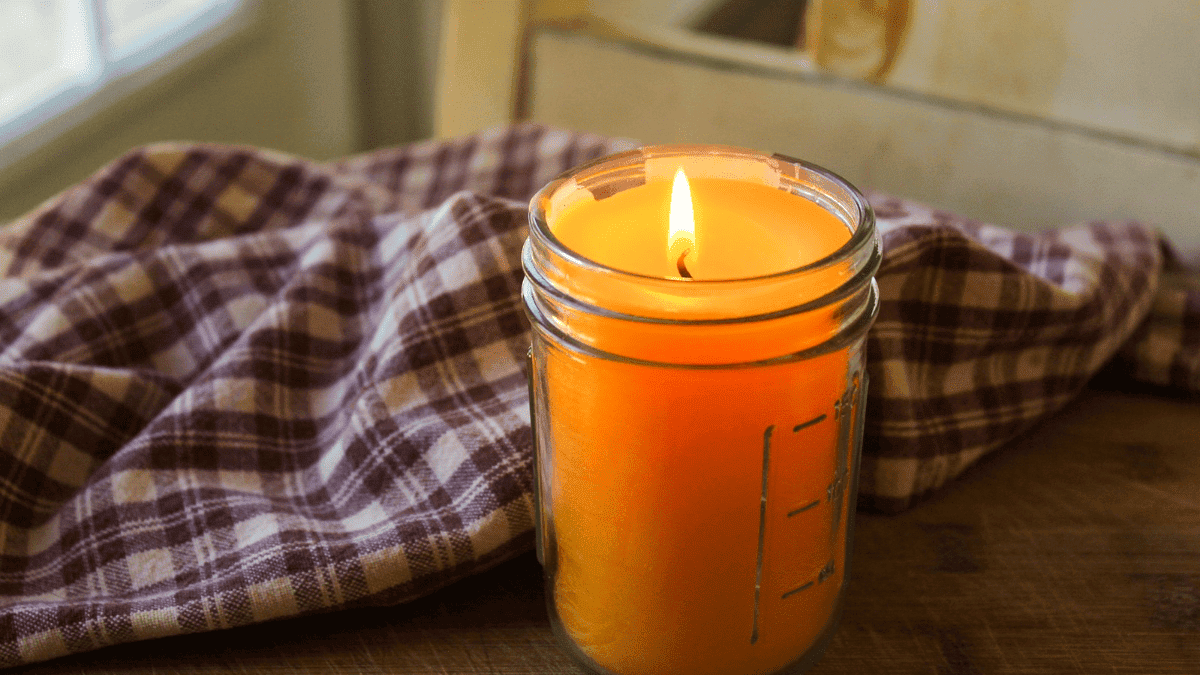
Beeswax candles are a beautiful, natural alternative to store-bought candles. They burn cleanly, with no toxic fumes, and emit a subtle honey-like fragrance. Plus, they’re easy to make at home! Whether you’re new to candle-making or looking for a fresh recipe, this guide will walk you through the steps to create your own eco-friendly candles.
Disclosure: This post may contain affiliate links. That means I may earn a small commission if you purchase through them, at no additional cost to you.
Why Beeswax?
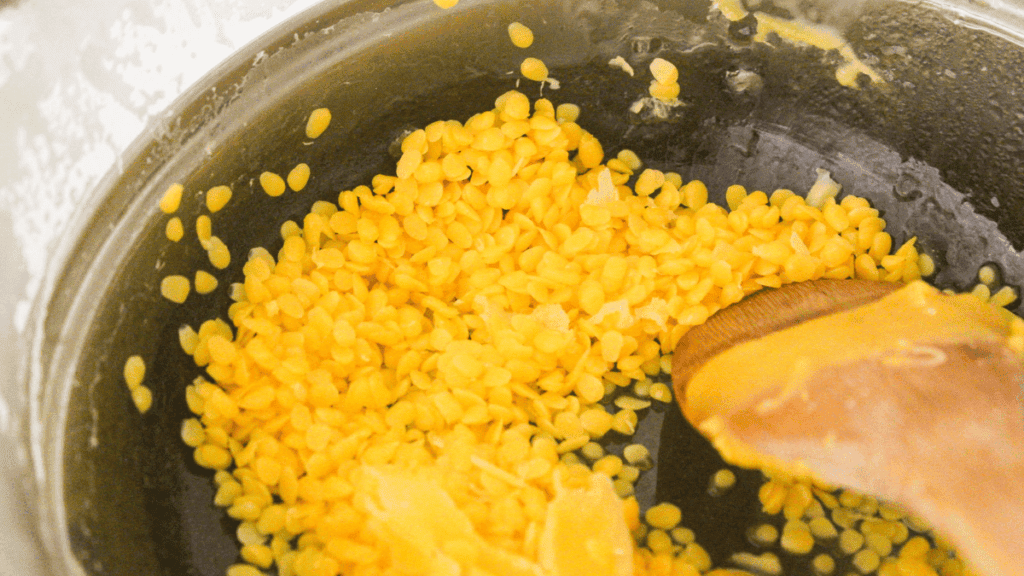
Beeswax is a natural byproduct of beekeeping, valued for its clean and long-lasting burn. Unlike other candles that may contain synthetic additives, beeswax candles are free from chemicals and burn without producing smoke or soot. They offer a steady, warm glow, making them a great choice for anyone looking to add an eco-friendly, natural touch to their home.
Supplies You’ll Need:
- Pure beeswax – You can buy beeswax in blocks or pellets.
- Candle wicks – Look for natural cotton wicks with no metal core, sized appropriately for the diameter of your candle mold.
- Candle molds or jars – You can use traditional candle molds or recycled glass jars for a rustic look.
- Double boiler or a heat-safe container and pot – For melting the beeswax.
- Thermometer – To ensure the wax doesn’t overheat.
- Wood clothes pins – To hold the wick in place.
Step-by-Step Recipe:
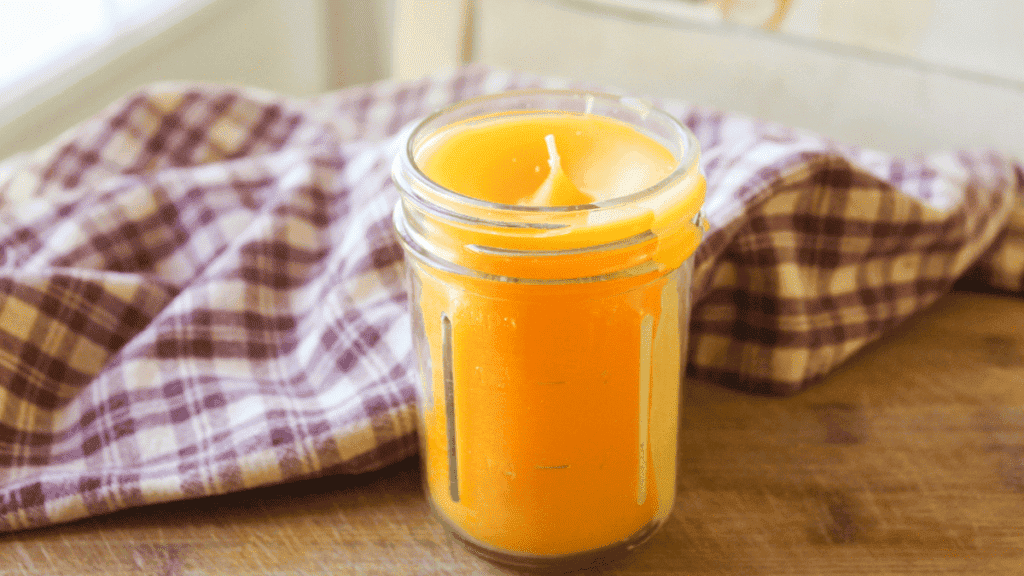
1. Prepare Your Wick
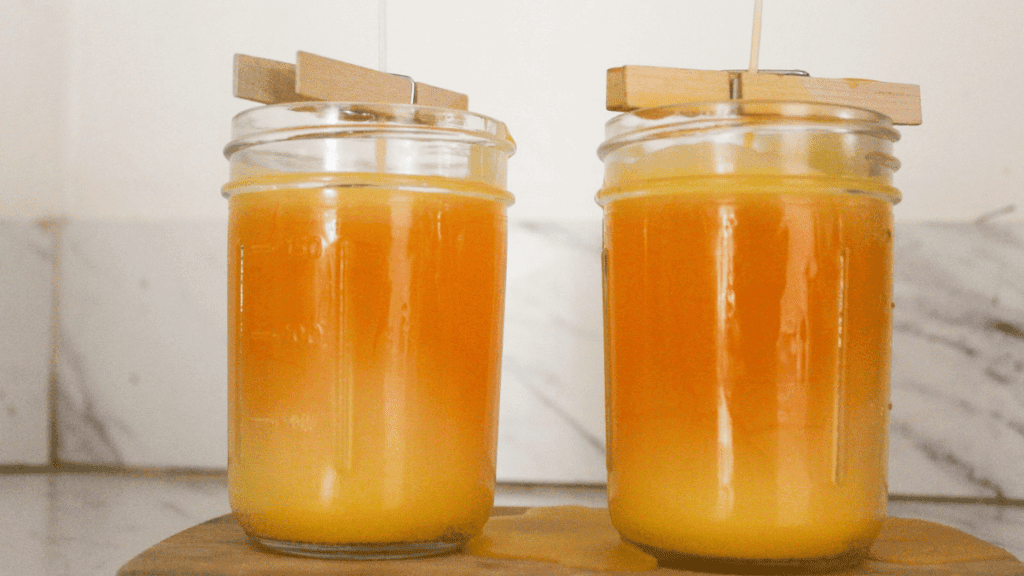
Start by measuring your wick. It should be long enough to extend from the bottom of the mold or jar to about two inches above the top. Secure it to the bottom of the mold with a bit of beeswax or use a wick holder. Attach the top of the wick to a wood clothes pin, which can be placed across the top of the jar or mold to keep the wick centered.
2. Melt the Beeswax
Using a double boiler, melt the beeswax over low heat. Beeswax melts at around 145°F (63°C), so keep a close eye on the temperature using a thermometer to avoid overheating. If you’re using a makeshift double boiler, place a heat-safe container (like a glass measuring cup) inside a pot of water, making sure the water doesn’t boil over into the glass cup.
3. Pour the Wax
Carefully pour the melted beeswax into your molds or jars, leaving a little space at the top. If your mold or jar is narrow, pour slowly to avoid air bubbles. The wax will begin to harden as it cools, but don’t move the container yet! The most helpful tool in this step is a funnel so you don’t make a huge beeswax mess that is hard to clean.
4. Let It Cool
Allow the candles to cool slowly and naturally at room temperature. Rushing this process can cause cracks in the wax. As the wax cools, it may sink slightly around the wick. If this happens, reheat a small amount of beeswax and pour it on top to fill in the gap.
5. Trim the Wick
Once your candles are fully cooled and hardened, trim the wick to about ¼ inch.
Enjoy Your Handmade Beeswax Candles
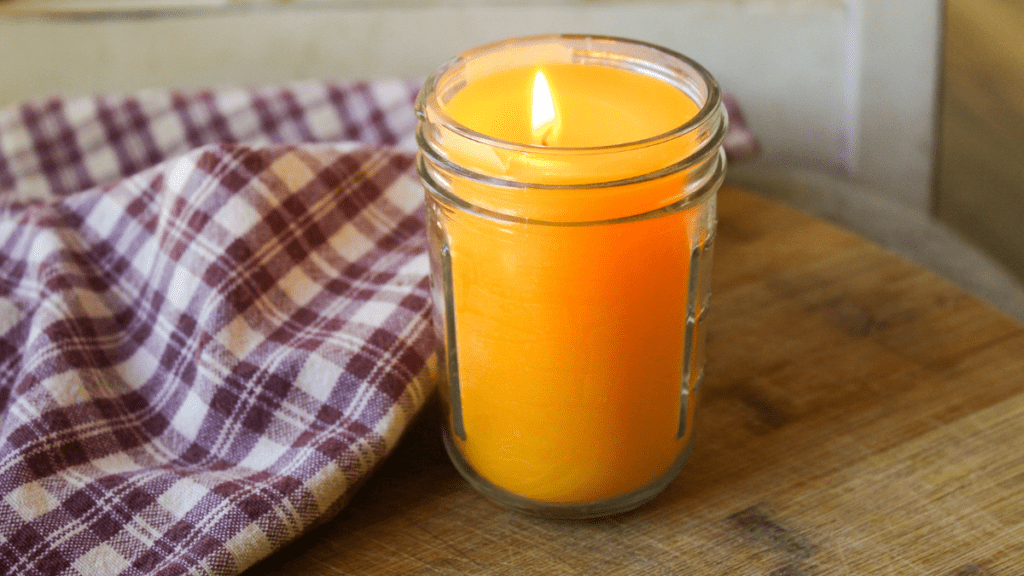
Your handmade beeswax candles are now ready to use! Light them up to enjoy their warm natural glow. These candles also make thoughtful gifts, especially when paired with a cozy night-in basket or a self-care kit.
Tips for Success:
- Be patient: Beeswax can take time to melt, and cooling slowly will give you the best results.
- Experiment with molds: Try different molds for varying shapes and sizes. Silicone molds make it easy to pop out your finished candles.
- Use leftover beeswax: Save your wax scraps for future batches. Beeswax is reusable and can be remelted.
Making beeswax candles at home is a rewarding craft that leaves you with a natural, air-purifying candle perfect for cozy evenings. With just a few simple ingredients and tools, you can create beautiful, long-burning candles that are free from harmful chemicals and additives. Plus, the natural glow and scent of beeswax will bring a touch of warmth and comfort to any room.
Happy candle making!
Beeswax Candle Recipe
Equipment
- 1 Cotton Candle Wick
- 1 Half-pint Glass Jar
- 1 Wood Clothes Pin
- Double Boiler
- Thermometer
Ingredients
- 1 Cup 100% Beeswax Pellets
Instructions
- Start by measuring your wick. It should be long enough to extend from the bottom of the mold or jar to about two inches above the top. Secure it to the bottom of the mold with a bit of beeswax or use a wick holder. Attach the top of the wick to a wood clothes pin, which can be placed across the top of the jar or mold to keep the wick centered.
- Using a double boiler, melt the beeswax over low heat. Beeswax melts at around 145°F (63°C), so keep a close eye on the temperature using a thermometer to avoid overheating. If you’re using a makeshift double boiler, place a heat-safe container (like a glass measuring cup) inside a pot of water, making sure the water doesn’t boil over into the glass cup.
- Carefully pour the melted beeswax into your molds or jars, leaving a little space at the top. If your mold or jar is narrow, pour slowly to avoid air bubbles. The wax will begin to harden as it cools, but don’t move the container yet! The most helpful tool in this step is a funnel so you don’t make a huge beeswax mess that is hard to clean.
- Allow the candles to cool slowly and naturally at room temperature. Rushing this process can cause cracks in the wax. As the wax cools, it may sink slightly around the wick. If this happens, reheat a small amount of beeswax and pour it on top to fill in the gap.
- Once your candles are fully cooled and hardened, trim the wick to about ¼ inch.
Find more DIY recipes here:
Hi, I’m Ashley — mama, maker, and lover of all things from-scratch. Around here, you’ll usually find me barefoot in the kitchen, covered in flour or beeswax, with kids underfoot and something simmering on the stove. I believe in slow living, simple joys, and the kind of home that smells like cinnamon rolls and sunshine. Find out more about me here.

