Canning green beans at home is a wonderful way to preserve the bounty of your garden or take advantage of seasonal produce sales. However, it is crucial to follow safe canning practices to prevent foodborne illnesses, particularly botulism. This guide provides a detailed, tested recipe for safely canning green beans using a pressure canner.
Disclosure: This post may contain affiliate links. That means I may earn a small commission if you purchase through them, at no additional cost to you.
Why Pressure Canning?
Green beans are a low-acid food, which means they must be processed in a pressure canner to reach the temperatures necessary to destroy harmful bacteria, including Clostridium botulinum. Unlike boiling water bath canning, pressure canning reaches the high temperatures required to safely preserve low-acid foods.
Equipment Needed
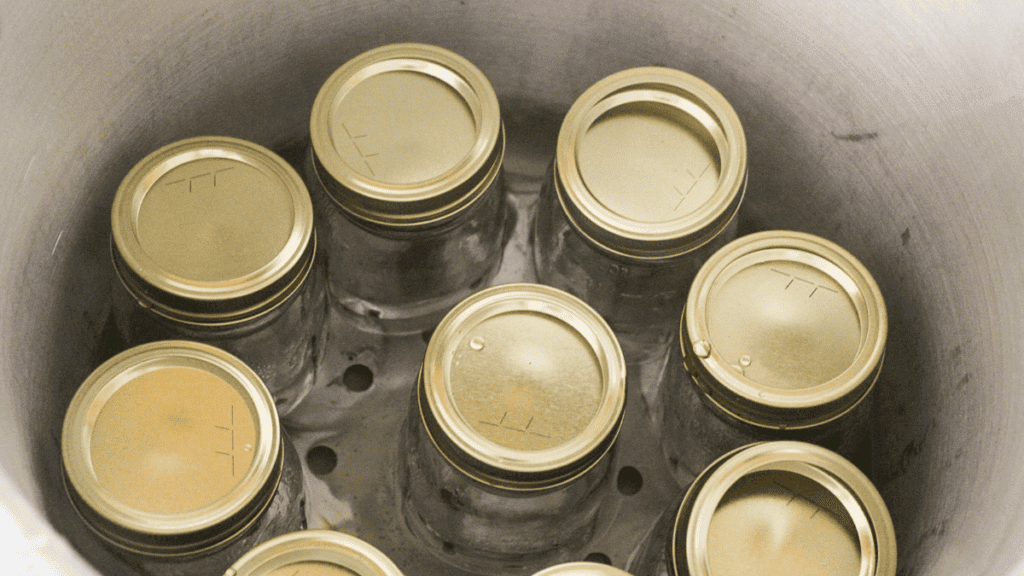
- Pressure canner with a rack
- Canning jars (pint or quart size) with two-piece lids
- Jar lifter
- Canning funnel
- Bubble remover tool or plastic knife
- Kitchen towels
- Timer
- Vinegar (optional, for hard water)
Ingredients
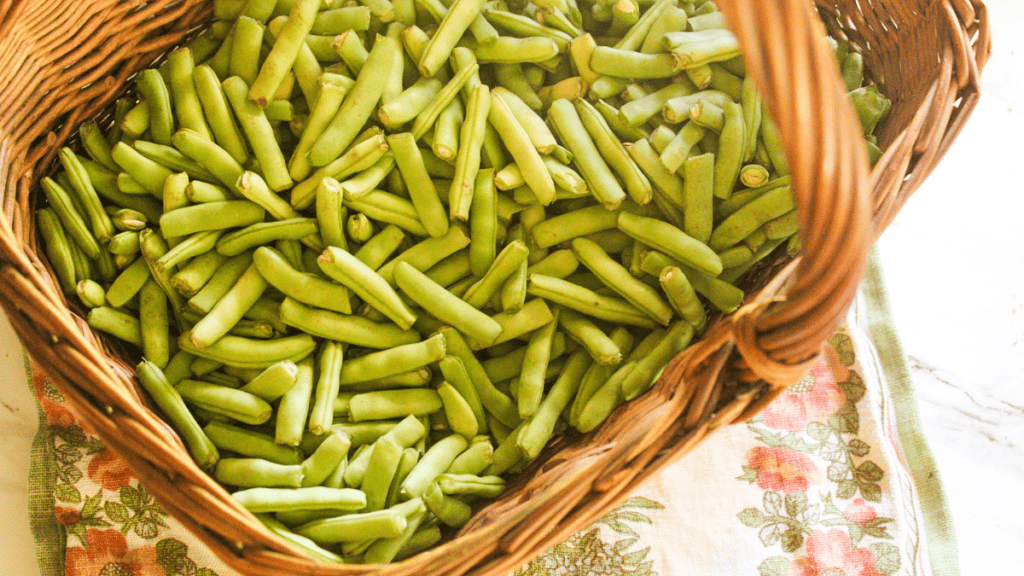
- Fresh green beans (about 1 pound per pint jar)
- Non-Iodized Salt
Step-by-Step Instructions
Prepare Your Jars and Lids
- Wash jars, lids, and bands in hot, soapy water. Rinse thoroughly.
- Place jars in a large pot of hot water or keep them in the dishwasher on the hot rinse cycle until you are ready to use them. This prevents the jars from breaking when filled.
Prepare the Green Beans
- Wash green beans thoroughly under running water.
- Trim the ends and cut beans into 1-2 inch pieces.
Pack the Jars
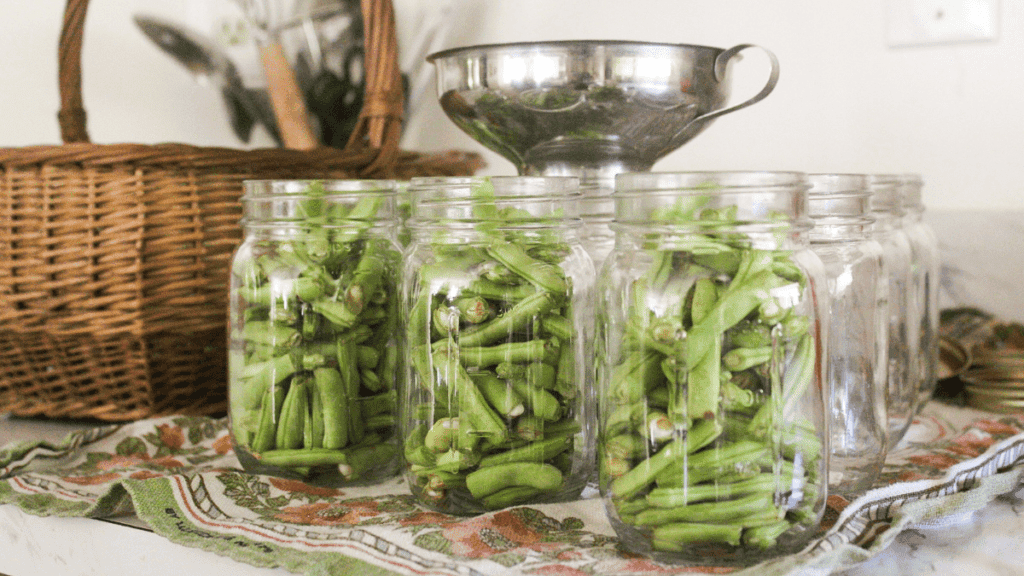
- Raw Pack Method:
- Pack the raw green beans tightly into the hot jars, leaving 1 inch of headspace at the top.
- Pour boiling water over the beans, maintaining the 1-inch headspace. I prefer to use the raw pack method because the beans are less mushy.
- Hot Pack Method:
- Blanch the green beans in boiling water for 5 minutes.
- Pack the hot beans loosely into the hot jars, leaving 1 inch of headspace.
- Cover the beans with the hot blanching water, maintaining the 1-inch headspace.
Remove Air Bubbles
- Slide a bubble remover tool or plastic knife around the inside edge of the jar to remove any trapped air bubbles.
- Adjust the headspace if necessary by adding more boiling water.
Wipe Jar Rims and Apply Lids
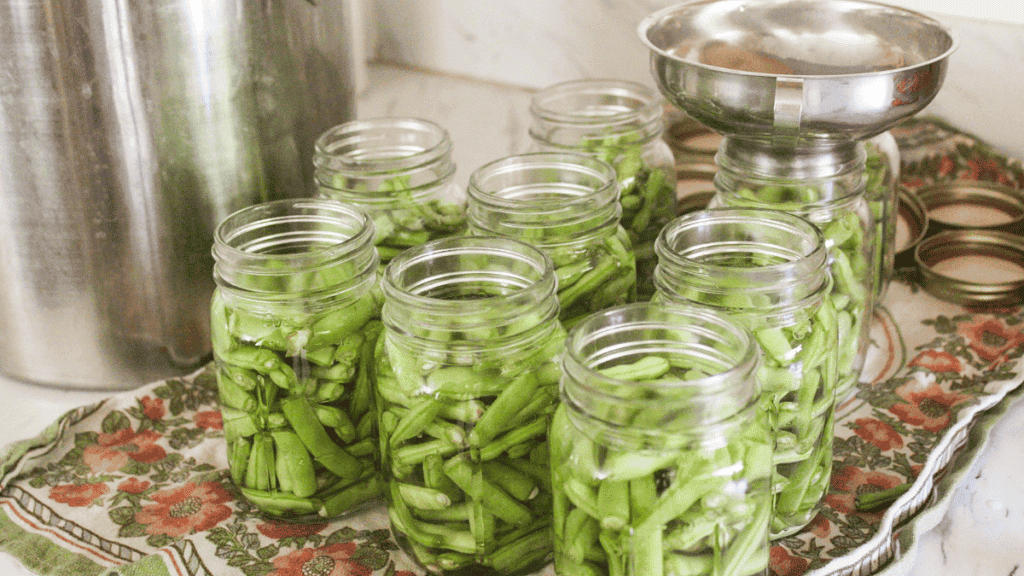
- Wipe the rims of the jars with a clean, damp cloth to remove any food residue.
- Place the lids on the jars and screw on the bands until fingertip tight.
Process in the Pressure Canner
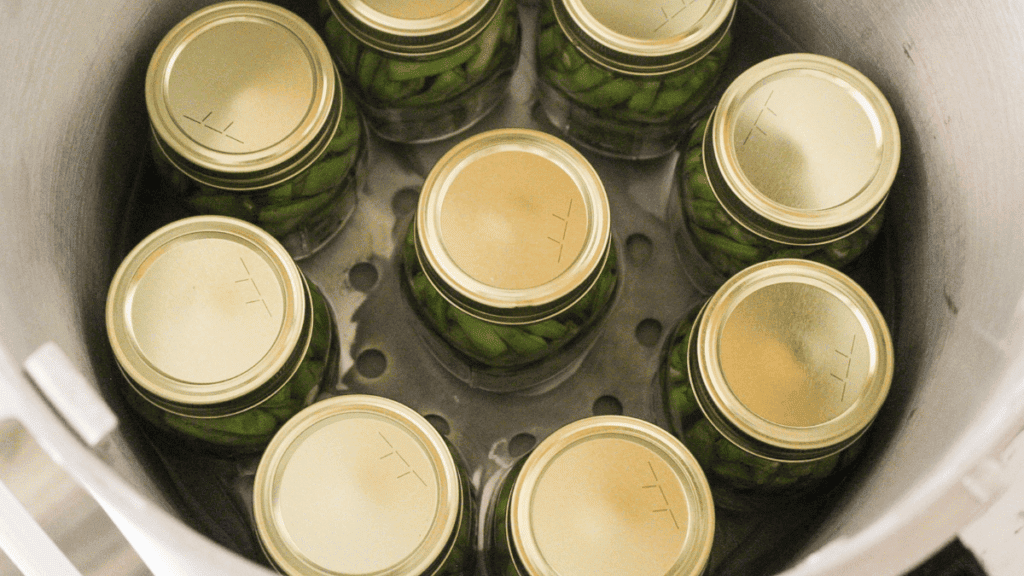
- Place the filled jars on the rack in the pressure canner. I use a Presto pressure canner for this process.
- Follow the manufacturer’s instructions to lock the lid in place.
- Vent steam for 10 minutes before applying the pressure regulator.
- Process pint jars at 11 PSI for 20 minutes or quart jars for 25 minutes. It’s important to check your local elevation to determine the correct pressure for your area, as it may need to be adjusted. For every 1,000 feet above sea level, you generally need to increase the pressure by 1 PSI.
Cool and Store the Jars
- After processing, turn off the heat and let the canner cool naturally, this will take a few hours.
- Remove the pressure regulator and wait 10 more minutes before opening the lid.
- Using a jar lifter, carefully remove the jars and place them on a kitchen towel to cool for 12-24 hours. DO NOT TOUCH THE JARS AT ALL!
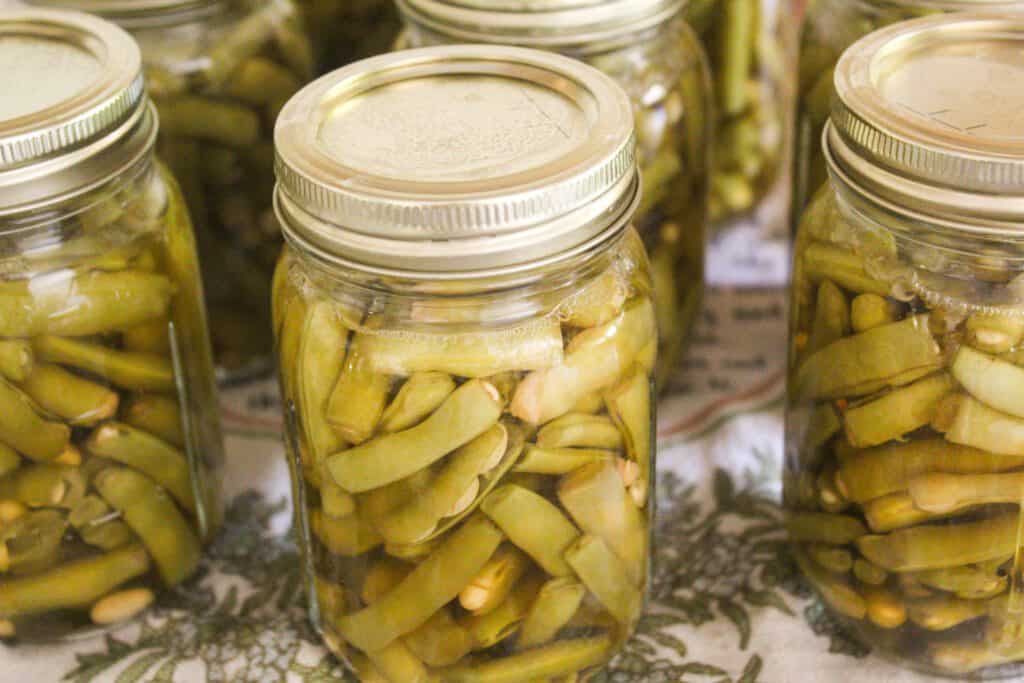
- Check the seals: the lids should be concave. Any unsealed jars should be refrigerated and used within a few days.
- Label and store the sealed jars in a cool, dark place. Home-canned green beans are best used within one year.
Tips for Success
- Always use fresh, high-quality green beans for the best results. I source mine from my local Amish community in the summer.
- Do not reuse canning lids; they are designed for one-time use to ensure a proper seal.
- Maintain a clean and organized workspace to avoid contamination.
- Regularly check your pressure canner’s gasket and vent for wear and tear and replace them as needed. You can have your pressure canner assessed for safety at your local University extension office.
Canning green beans is a rewarding way to enjoy garden-fresh flavor year-round. By following these steps and using proper pressure canning techniques, you can safely preserve green beans and provide your family with nutritious and delicious home-canned vegetables. Happy canning!
Disclaimer: This recipe is based on guidelines from the National Center for Home Food Preservation and the USDA. Always refer to trusted sources for the most current safety recommendations in home canning.
Want More Food Recipes?
Same Day Sourdough Dinner Rolls
Hi, I’m Ashley — mama, maker, and lover of all things from-scratch. Around here, you’ll usually find me barefoot in the kitchen, covered in flour or beeswax, with kids underfoot and something simmering on the stove. I believe in slow living, simple joys, and the kind of home that smells like cinnamon rolls and sunshine. Find out more about me here.


