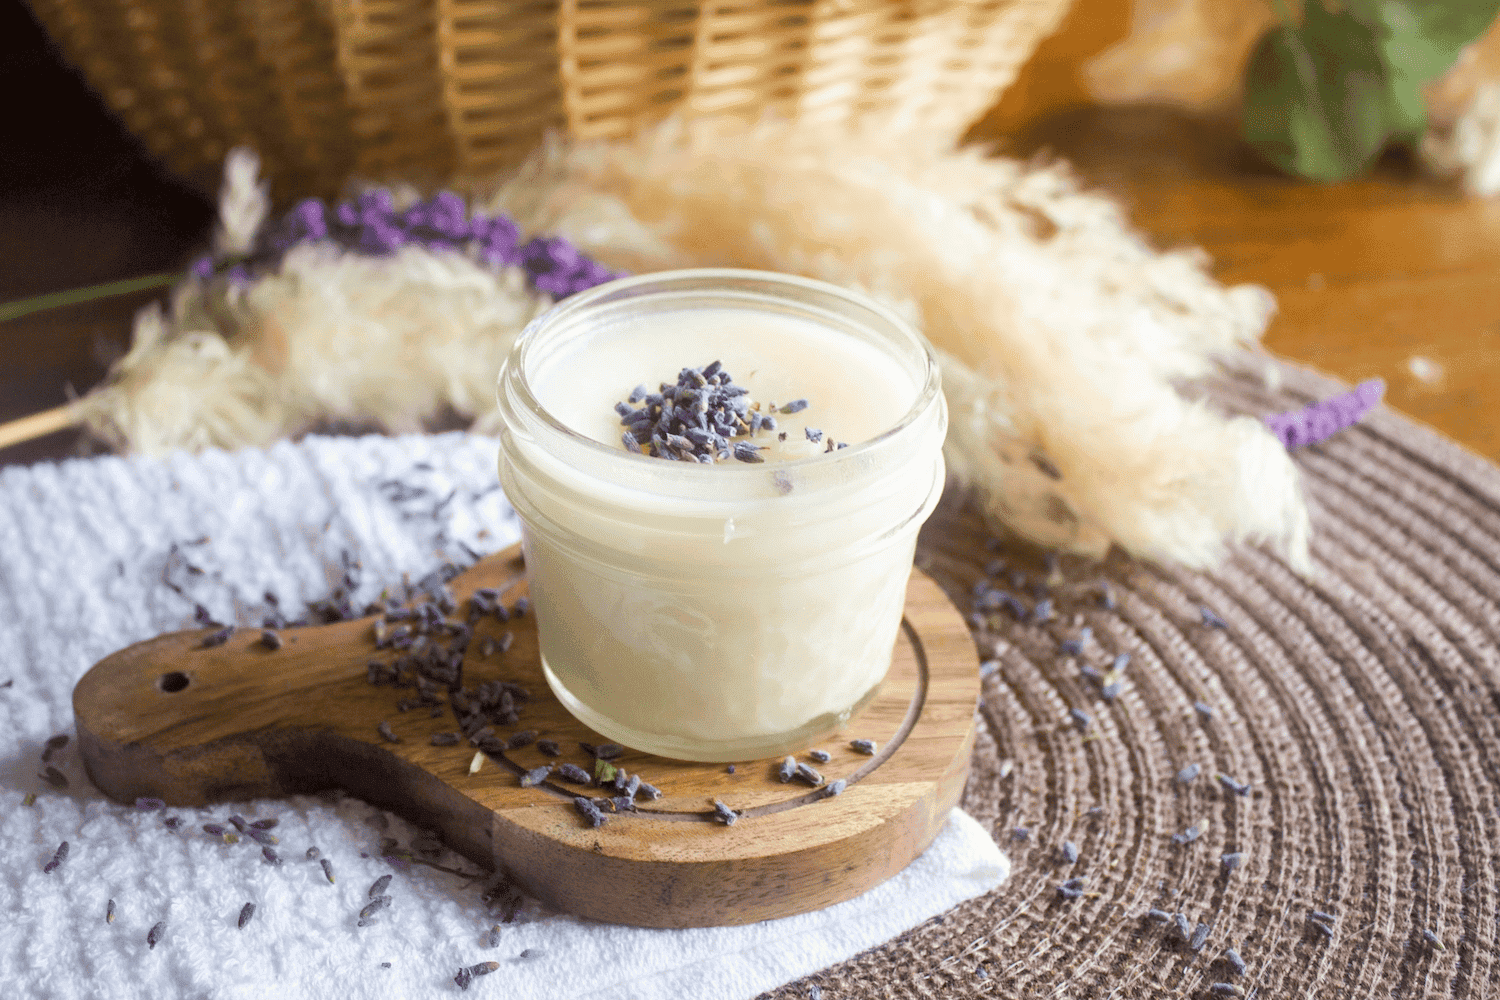
Making your own homemade diaper rash cream is easy and just as effective, if not more, than the conventional products. Diaper rash is something most moms have had to deal with, and it is not fun for anyone. Seeing your sweet baby so uncomfortable from the rash on their bum can break a mama’s heart. Most of the pre-made products sold marketing a fix for diaper rash are full of chemicals, and often not cloth diaper safe.
Natural Homemade Diaper Rash Cream Recipe
Every new mom researches everything safety-related for her baby, but what about the chemicals we put on their skin? This is often something not thought about because there are so many baby products out there, we almost assume they are all safe for our kids because that’s what the marketing says, right? Unfortunately, it is hard to find a truly natural diaper rash cream that you can easily go to the store and buy.
After researching what was in diaper rash cream and which ones were cloth diaper safe, I decided to make it easier on myself and create my recipe. This recipe is something I have been using on my kids for a while now and it works wonders. The shea butter and vitamin E oil are great for soothing the discomfort babies feel when dealing with diaper rash and the coconut oil is helpful with moisturizing the rash, allowing it to go away quicker.
What is Diaper Rash?
According to this website, “Diaper rash is a common form of inflamed skin (dermatitis) that appears as a patchwork of bright red skin on your baby’s bottom. Diaper rash is often related to wet or infrequently changed diapers, skin sensitivity, and chafing.”
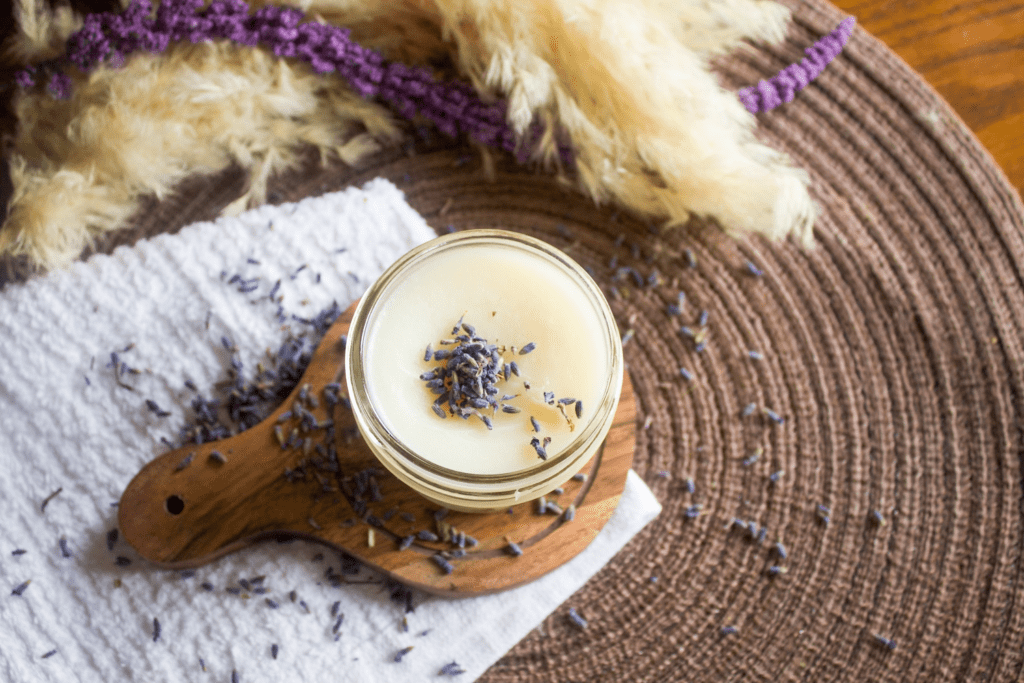
How to Make Homemade Diaper Rash Cream:
(Optional) Essential Oils
Benefits of Coconut Oil on Skin:
Coconut oil is well known for reducing inflammation on the skin, which is why it is so commonly used in skincare products. When it comes to diaper rash, the baby’s skin is red and inflamed due to the irritation on their skin. The use of coconut oil in the homemade diaper rash cream is great at treating the diaper rash and providing relief.
Antibacterial is a word commonly associated with coconut oil. Diaper rash can sometimes turn into a yeast infection if it is not cared for immediately. Luckily, keeping this diaper rash cream on hand can help prevent that if used right away due to the antibacterial properties of coconut oil.
Benefits of Vitamin E Oil on Skin:
- The moisturizing properties of vitamin E oil aid in healing the diaper rash quicker.
- Temporary relief from itching that is caused by having dry skin is another benefit to using vitamin E oil topically. Since the oil is so moisturizing, it helps to moisturize any dry skin therefore taking away the itching that dry skin can cause.
What is Shea Butter?
Shea butter is the fat content that comes from the nuts of a shea tree. According to this article, “Its high concentration of vitamins and fatty acids — combined with its easy-to-spread consistency — make it a great product for smoothing, soothing, and conditioning your skin.”
Benefits of Shea Butter on Skin:
Just like with most of the other ingredients in this recipe for homemade diaper rash cream, shea butter has moisturizing properties.
Shea butter is anti-inflammatory which can be very beneficial when dealing with diaper rash. Visually looking at a diaper rash you will see it is red and slightly inflamed. The shea butter allows relief that the rash causes.
Once again, shea butter, just like coconut oil, is anti-bacterial. If you keep this diaper rash cream on hand and use it at the first sight of diaper rash, you should hopefully be able to avoid a yeast infection thanks to the antibacterial properties of coconut oil and shea butter in the recipe.
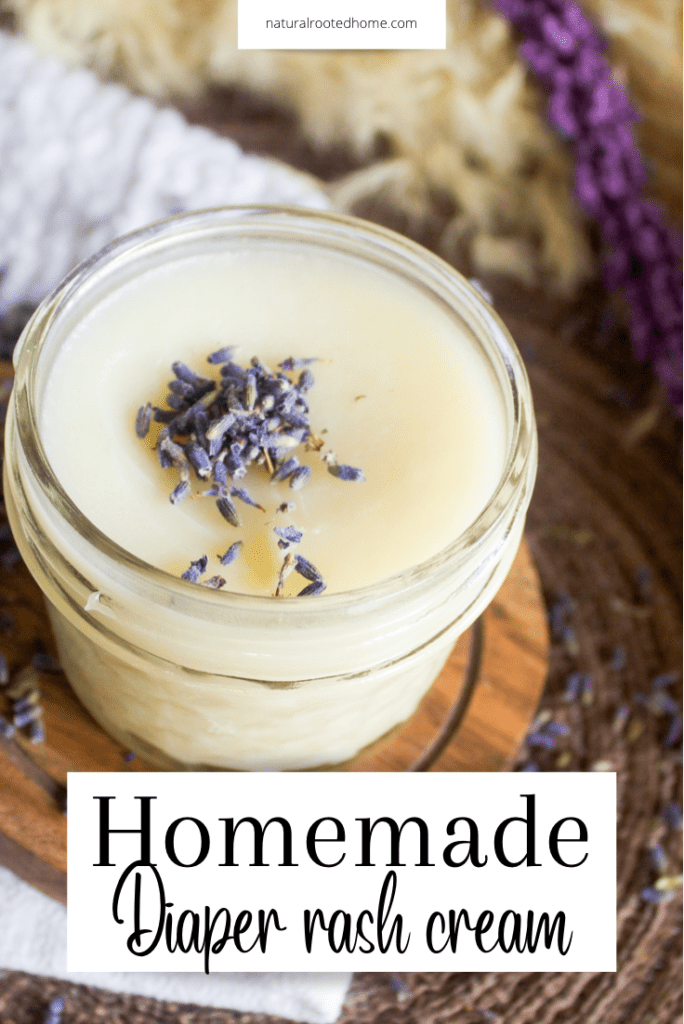
What You Need:
- 1/4 Cup Coconut Oil
- 1/4 cup Shea Butter
- 1/4 Tsp Vitamin E Oil
- 1 Tablespoon Arrowroot Powder
- (Optional) 2 Drops Lavender Essential Oil
How to Make Natural Diaper Rash Cream
- Start by creating a double broiler with a glass bowl. You can do this by putting approximately 2 cups of water into a saucepan and letting it come to a boil on the stove.
- While the water is coming to a boil, measure out your ingredients. The shea butter typically comes in blocks so it will need to be cut to fit (doesn’t have to be perfect) a 1/4 cup measure. You can purchase the exact shea butter I used here.
- Once the water is boiling, use a glass bowl (or anything that can tolerate heat), setting it on top of the saucepan.
- Add the coconut oil and shea butter to the glass bowl that is on the double boiler. Using a wooden spoon or rubber spatula, mix the two as they start to melt. Be sure to keep your eye on this because it melts fast and needs to be stirred often.
- When the coconut oil and shea butter have melted, add in the 1/4 Tsp vitamin E oil and lavender essential oil if you choose to use that. Mix.
- Take the glass bowl off the heat, setting it on a stable surface. Slowly whisk in the arrowroot powder. This may take a few minutes to ensure there are no clumps.
- The mixture should be smooth at this point, quickly pour it into whatever container you will be using for this diaper rash cream and set it in the fridge to set. You can also leave this at room temperature on the counter to set however it will take much longer.
- My homemade diaper rash cream takes about 2-3 hours to set in the fridge. Once set, pull it out and let it come to room temperature. If the cream is smooth and silky, it’s ready to use!
Notes:
- Store this in an airtight container and use it as needed. When using more than once during a single diaper change, be sure to wash your hands before dipping back into the jar to not create cross-contamination between the rash and the cream.
- I use this on my cloth diapers and have had no issues.
- If you are dealing with a yeast rash, I highly recommend using this product.
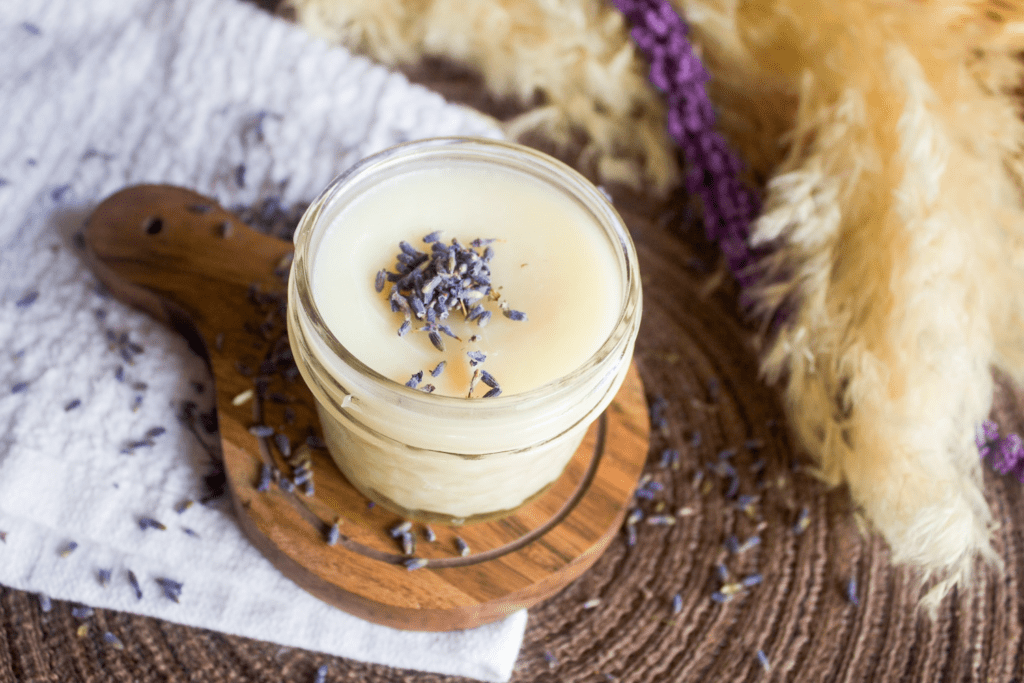
Homemade Diaper Rash Cream
Equipment
- Saucepan
- Glass Bowl
- Whisk
- Airtight Container with Lid
Materials
- ¼ Cup Coconut Oil
- ¼ Cup Shea Butter
- ¼ Tsp Vitamin E Oil
- 1 Tbsp Arrowroot Powder
- 2 Drops Lavender Essential Oil
Instructions
- Start by creating a double broiler with a glass bowl. You can do this by putting approximately 2 cups of water into a saucepan and letting it come to a boil on the stove.
- While the water is coming to a boil, measure out your ingredients. The shea butter typically comes in blocks so it will need to be cut to fit (doesn’t have to be perfect) a 1/4 cup measure. You can purchase the exact shea butter I used here.
- Once the water is boiling, use a glass bowl (or anything that can tolerate heat), setting it on top of the saucepan.
- Add the coconut oil and shea butter to the glass bowl that is on the double boiler. Using a wooden spoon or rubber spatula, mix the two together as they start to melt. Be sure to keep your eye on this because it melts fast and needs to be stirred often.
- When the coconut oil and shea butter have melted, add in the 1/4 Tsp vitamin E oil and lavender essential oil if you choose to use that. Mix.
- Take the glass bowl off the heat, setting it on a stable surface. Slowly whisk in the arrowroot powder. This may take a few minutes to ensure there are no clumps.
- The mixture should be totally smooth at this point, quickly pour it into whatever container you will be using for this diaper rash cream and set it in the fridge to set. You can also leave this at room temperature on the counter to set however it will take much longer.
- My homemade diaper rash cream takes about 2-3 hours to set in the fridge. Once set, pull it out and let it come to room temperature. If the cream is smooth and silky, it's ready to use!
Notes
- If you are dealing with a yeast rash, I highly recommend using this product.
- Store this in an airtight container and use it as needed. When using more than once during a single diaper change, be sure to wash your hands before dipping back into the jar in order to not create cross-contamination between the rash and the cream.
- I use this on my cloth diapers and have had no issues.
This post may contain affiliate links, I may receive commissions for purchases made through these links at no additional cost to you.
Hi, I’m Ashley — mama, maker, and lover of all things from-scratch. Around here, you’ll usually find me barefoot in the kitchen, covered in flour or beeswax, with kids underfoot and something simmering on the stove. I believe in slow living, simple joys, and the kind of home that smells like cinnamon rolls and sunshine. Find out more about me here.

