
No-Knead Artisan bread has been around for a long time, which is why it is fun to put different twists on the traditional recipe like with this rosemary garlic no-knead artisan bread recipe. Roasting the garlic allows a strong garlic flavor to shine throughout the entire loaf. As for the rosemary, that is one of my favorite herbs. The flavor is not too strong and it pairs very well with the roasted garlic.
Making the perfect no-knead artisan bread
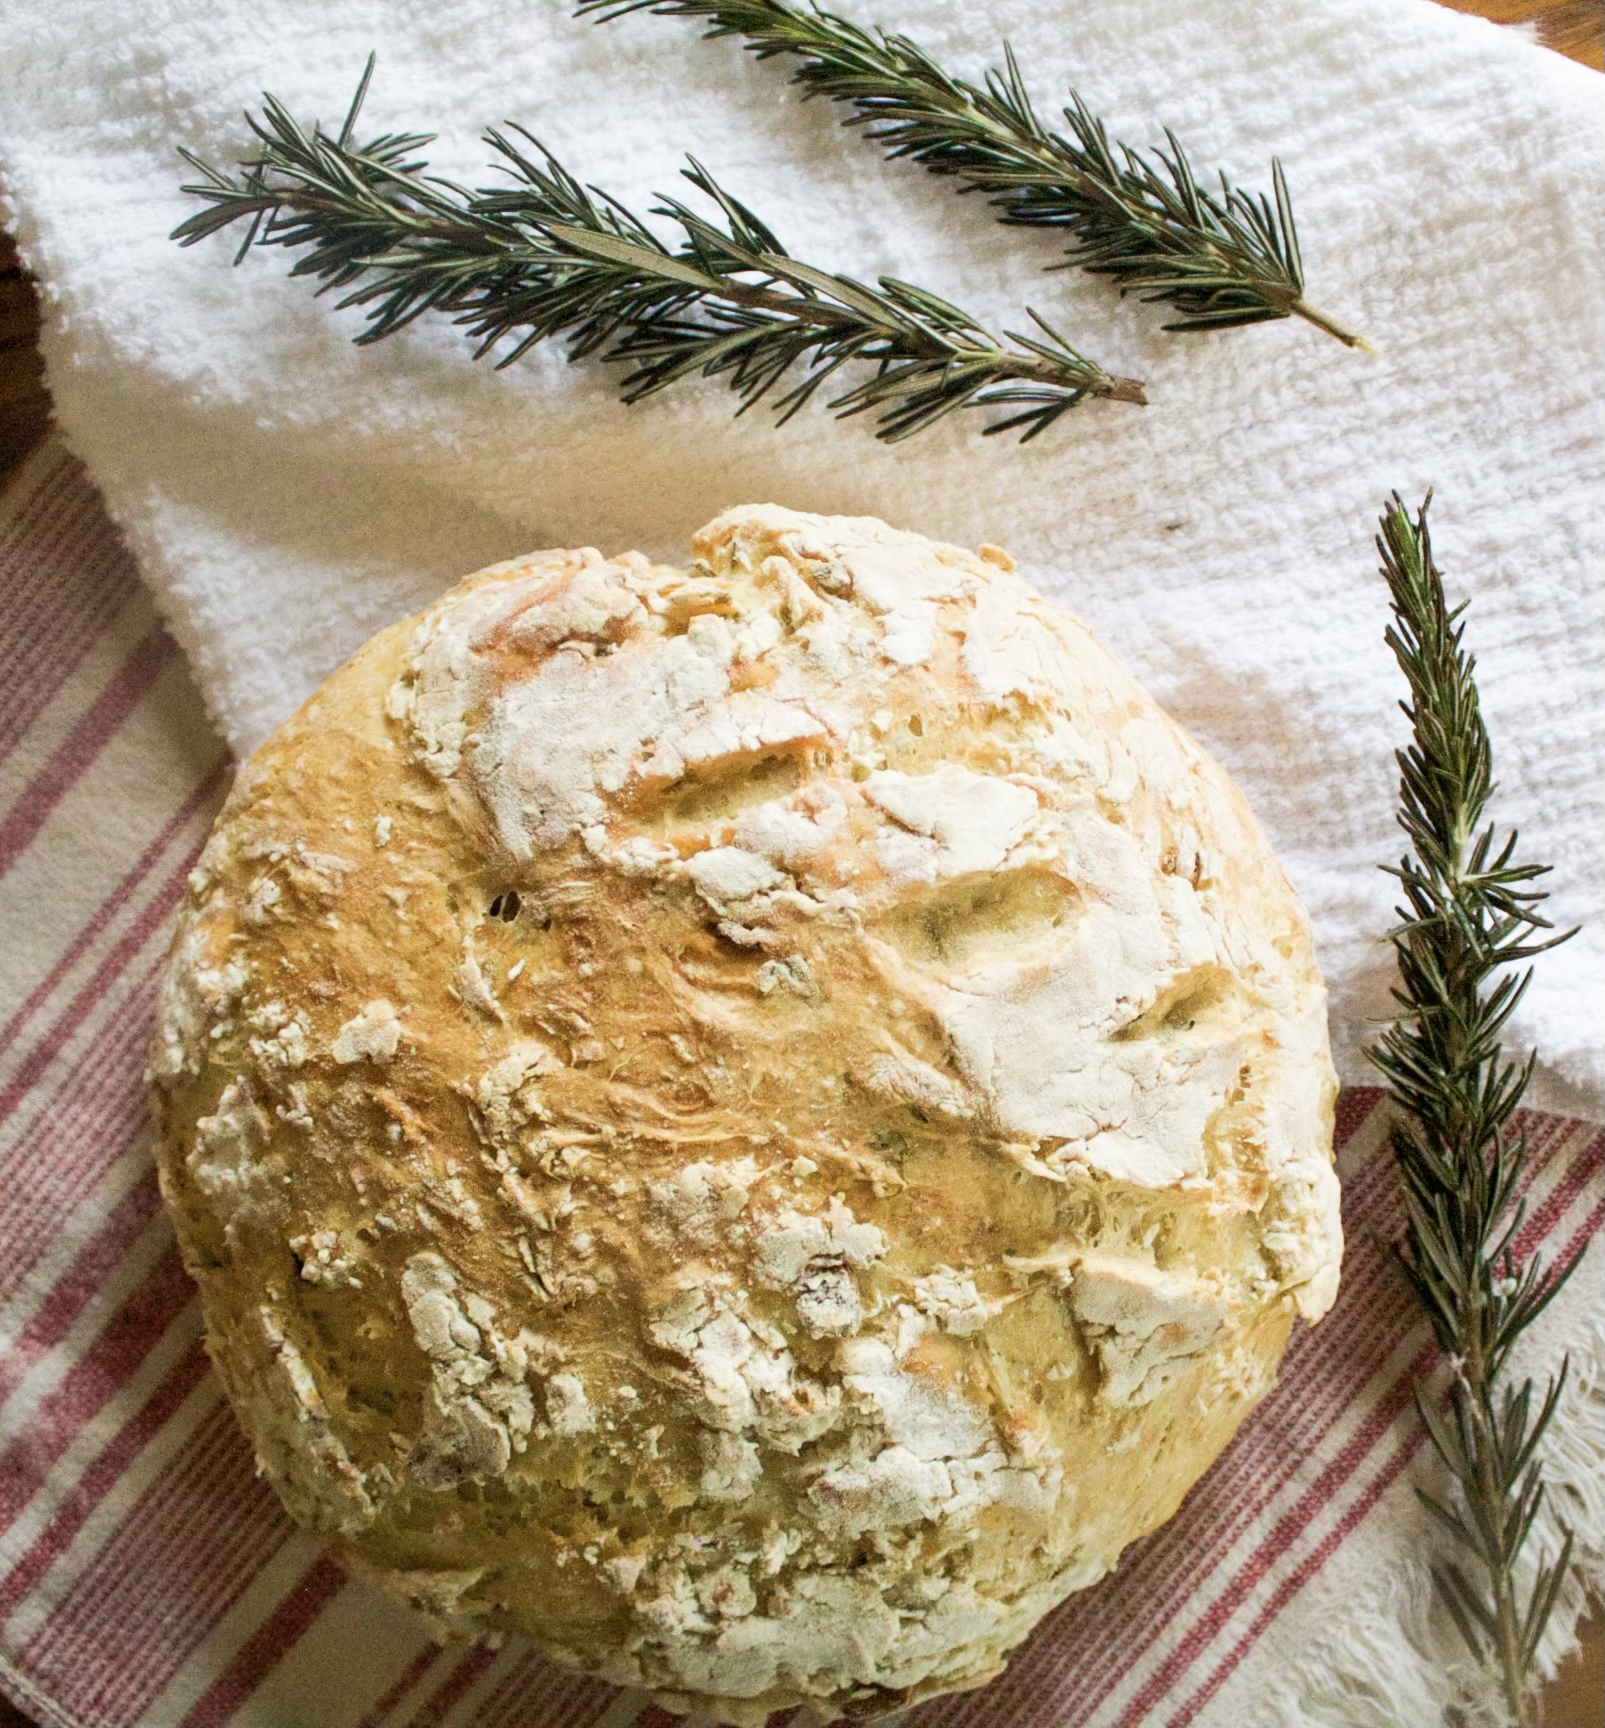
For this rosemary garlic no-knead artisan bread recipe I prefer to use a dutch oven because it holds the bread round shape while baking and it gets very hot when pre-heated, giving the bread a crispy crust. If you don’t have a dutch oven, no problem! You could simply bake this on a cookie sheet lined with parchment paper. The true key to a crusty loaf is putting a pan with water on the bottom rack while the bread is baking in whatever vessel you have used. The steam from the water helps create that brown crust you see on most loaves.
Another great thing about a no-knead artisan bread recipe, also known as artisan bread, are you simply put all of the ingredients together at once, allow the roasted garlic artisan bread to rise for a few hours, and bake it and enjoy! It is a great alternative to a sourdough, although it does not provide the same fermentation benefits you get from a sourdough, it is much easier to make and has the same crusty outside with a soft inside.
Tips for Success:
If you want a brown crust that makes a ‘crack’ when you cut into it, I suggest doing the steaming method. I have tested this no-knead artisan bread recipe without steaming water on the bottom rack and my loaf was only slightly brown when done baking, nowhere near the amazing crust I got using the steaming method.
Using rapid rise yeast or active dry yeast does not matter in this recipe, you want to allow the bread 3-4 hours to rise no matter which type of yeast you used. If you bake this too early, before allowing its full rise, it will come out small and dense.
Keep your eye on the roasted garlic while it is under the broiler, it roasts fast and I have forgotten about it many times while recipe testing! The garlic should be brown, but not too dark. You can pick out the crunchy pieces of garlic so that’s not an issue when eating the bread.
You could just sauté the garlic on the stove in a pan if that is easier but I enjoy the roasted flavor it gets under the broiler.
Using fresh rosemary gives off a stronger rosemary flavor in the finished product however if dried rosemary is all you have, you can still do 1 tablespoon of dried rosemary, just know the rosemary flavor might be more subtle.

Equipment
Ingredients
- 3 ¼ Cup All-Purpose Unbleached Flour
- 1 ½ Cup Lukewarm Water
- 1 Packet Rapid Rise or Active Dry Yeast
- 2 Teaspoons Salt
- 1 Tablespoon Chopped Rosemary
- 4 Cloves Garlic
- 1 Tablespoon Butter or Coconut Oil
Instructions
For the Roasted Garlic + Rosemary:
- Preheat a small cast-iron skillet with the butter or coconut oil in it, about 5 minutes under the broiler.
- Cut your large cloves of garlic into smaller pieces, this does not have to be perfect as it is just going into the dough, however, make them small enough to eat without getting a huge chunk of garlic.
- Add garlic pieces into the preheated cast iron skillet with the melted butter or coconut oil, put back under the broiler for 5 minutes. Keep your eye on this because it burns quickly! You want a nice brown on the garlic but NOT burnt or too dark.
- Once the garlic has turned brown, take it out of the oven and allow the skillet to cool for a few minutes.
- When the garlic has cooled enough to touch it, pick out the burnt or very crispy pieces, put the rest on a cutting board, and smash it down. I used a potato masher but you could use a fork if that is easier.
- Using fresh rosemary, chop into smaller pieces yielding 1 tablespoon of chopped rosemary.
For the Dough:
- Add the flour, water, yeast, salt, roasted garlic, and rosemary into a stand mixer, I use this small kitchen-Aid one, with a dough hook attachment on it. Turn the mixer on low and allow all of the ingredients to come together. This won’t be for a ball but you will notice everything has mixed together into a sticky dough.
- Turn the mixer off, use your hand to wipe down the dough hook, making sure you get all of the dough back into the mixer bowl.
- Gently form the dough into a ball while in the mixing bowl, this does not have to be perfect, just a general round shape is fine.
- Put a tea towel over the mixing bowl and place it in a warm spot to rise, I like putting it in my oven with the oven off but light on.
- Allow the dough to rise for 3-4 hours, 4 hours yields the fluffiest dough.
Baking the Bread:
- Preheat your oven to 450 degrees and place an empty, seasoned, cast iron dutch oven in there to warm up.
- Once the dough has doubled in size over the 4 hours it was resting, flour a clean flat surface and gently pull the ball of dough out onto the floured surface.
- Do not knead!
- Simply use your hands to help the dough come together in a round shape, this is very light and not necessary if your dough held its round shape while rising.
- Once your dutch oven has preheated, pick up your dough and place it in the dutch oven. Leave the lid OFF while baking. If using a cookie sheet or other baking vessel, be sure to use parchment paper unless it is preheated cast iron.
- Take a separate oven-safe dish and fill it with water.
- Place the water-filled dish on the bottom rack of the oven, this will create steam for the crust.
- Place the cast iron dutch oven into the oven and close the door.
- Allow this to bake for 30-35 minutes.
- Once done, turn the oven off, pull the bread out and leave it in the dutch oven to cool for 10 minutes. Once cool, slice and enjoy!


Roasted Garlic Rosemary No-Knead Bread
Equipment
- Cast Iron Dutch Oven
- Stand Mixer
Ingredients
- 3 ¼ Cup All-Purpose Unbleached Flour
- 1 ½ Cup Lukewarm Water
- 1 Packet Rapid Rise or Active Dry Yeast
- 2 Teaspoons Salt
- 1 Tablespoon Chopped Rosemary
- 4 Cloves Garlic
- 1 Tablespoon Butter or Coconut Oil
Instructions
For the Roasted Garlic + Rosemary:
- Preheat a small cast-iron skillet with the butter or coconut oil in it, about 5 minutes under the broiler.
- Cut your large cloves of garlic into smaller pieces, this does not have to be perfect as it is just going into the dough, however, make them small enough to eat without getting a huge chunk of garlic.
- Add garlic pieces into the preheated cast iron skillet with the melted butter or coconut oil, put back under the broiler for 5 minutes. Keep your eye on this because it burns quickly! You want a nice brown on the garlic but NOT burnt or too dark.
- Once the garlic has turned brown, take it out of the oven and allow the skillet to cool for a few minutes.
- When the garlic has cooled enough to touch it, pick out the burnt or very crispy pieces, put the rest on a cutting board, and smash it down. I used a potato masher but you could use a fork if that is easier.
- Using fresh rosemary, chop into smaller pieces yielding 1 tablespoon of chopped rosemary.
For the Dough:
- Add the flour, water, yeast, salt, roasted garlic, and rosemary into a stand mixer, I use this small kitchen-Aid one, with a dough hook attachment on it. Turn the mixer on low and allow all of the ingredients to come together. This won’t be for a ball but you will notice everything has mixed together into a sticky dough.
- Turn the mixer off, use your hand to wipe down the dough hook, making sure you get all of the dough back into the mixer bowl.
- Gently form the dough into a ball while in the mixing bowl, this does not have to be perfect, just a general round shape is fine.
- Put a tea towel over the mixing bowl and place it in a warm spot to rise, I like putting it in my oven with the oven off but light on.
- Allow the dough to rise for 3-4 hours, 4 hours yields the fluffiest dough.
Baking the Bread:
- Preheat your oven to 450 degrees and place an empty, seasoned, cast iron dutch oven in there to warm up.
- Once the dough has doubled in size over the 4 hours it was resting, flour a clean flat surface and gently pull the ball of dough out onto the floured surface.
- Do not knead!
- Simply use your hands to help the dough come together in a round shape, this is very light and not necessary if your dough held its round shape while rising.
- Once your dutch oven has preheated, pick up your dough and place it in the dutch oven. Leave the lid OFF while baking. If using a cookie sheet or other baking vessel, be sure to use parchment paper unless it is preheated cast iron.
- Take a separate oven-safe dish and fill it with water.
- Place the water-filled dish on the bottom rack of the oven, this will create steam for the crust.
- Place the cast iron dutch oven into the oven and close the door.
- Allow this to bake for 30-35 minutes.
- Once done, turn the oven off, pull the bread out and leave it in the dutch oven to cool for 10 minutes. Once cool, slice and enjoy!

There are so many no-knead bread recipes made in the dutch oven but this is truly my favorite, I hope you enjoy it as much as I do!
This recipe would be delicious with my naturally sweetened cranberry jam spread on top, find that recipe here!
This post may contain affiliate links, I may receive commissions for purchases made through these links at no additional cost to you.


