Greek Yogurt in the Instant Pot
Ingredients
- ½ Gallon Whole Milk
- 2 Tbsp Yogurt Starter or Plain Yogurt
Instructions
- Pour the milk into the Instant Pot.
- Press the “Yogurt” button, then press “Adjust” until the display reads “Boil.” The pot will heat the milk to 180°F. Stir occasionally to prevent any milk from sticking to the bottom. *see notes
- Once the milk reaches 180°F, turn off the Instant Pot and remove the inner pot. Allow the milk to cool to 110°F. This is the ideal temperature for adding your starter without killing the beneficial bacteria.
- In a small bowl, mix a few tablespoons of the cooled milk with your yogurt starter. This helps the starter dissolve more evenly. Then pour this mixture back into the pot of milk and gently whisk to combine.
- Place the inner pot back into the Instant Pot. Press the “Yogurt” button and adjust the time to 24 hours using the “+” button. Place the lid on top, but there’s no need to seal it — the vent can remain on venting.
- Leave the pot alone for the full 24 hours. Avoid stirring or disturbing the yogurt during this time.
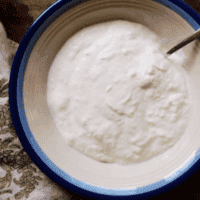
- At the end of the fermentation, the yogurt should be thickened and have a pleasant tang. If it looks slightly separated, that’s normal.
- Place a clean kitchen cloth or thin tea towel into a fine mesh strainer set over a large bowl. Carefully pour the yogurt into the cloth-lined strainer and place the whole setup in the refrigerator.
- Let it strain for 2 to 6 hours, depending on how thick you want your yogurt. The longer it strains, the thicker it will become.
- Transfer your strained Greek yogurt into jars or a container with a lid. It will keep in the refrigerator for 1 to 2 weeks.
Notes
If your model doesn’t have a boil setting, you can use the sauté function while monitoring the temperature with a kitchen thermometer.
Be sure to save 2 to 3 tablespoons of this batch to use as the starter culture for your next batch.